1. Overview
OData batch allows you to send several operations in one
HTTP request. This is useful when you want to create multiple records at once,
such as multiple Ledger Journal Headers. Instead of sending separate POST
requests, you wrap them inside a batch and a changeset.
- The batch
groups everything together.
- The changeset
groups write operations (POST, PATCH, DELETE) and makes them
transactional.
- Each
record creation is an application/http part inside the changeset.
2. Full Batch Payload Example
3. Understanding Each Part of the Payload
Batch Boundary : The batch begins with:
--batch_7bf57939-a923-4e49-92d3-20fb4f2c8435
This boundary must match the boundary declared in the main
HTTP header:
Content-Type: multipart/mixed;
boundary=batch_7bf57939-a923-4e49-92d3-20fb4f2c8435
The batch ends with:
--batch_7bf57939-a923-4e49-92d3-20fb4f2c8435--
Changeset Boundary
Inside the batch, you declare a changeset:
Content-Type: multipart/mixed;
boundary=changeset_8a6f6ebe-e9c9-44a2-b980-c33a69370eb4
Each POST request is wrapped inside this changeset. The
changeset ends with:
--changeset_8a6f6ebe-e9c9-44a2-b980-c33a69370eb4--
Individual Operations
Each operation starts with:
--changeset_...
Content-Type: application/http
Content-Transfer-Encoding: binary
Content-ID: <unique number>
Content-ID is used to identify the operation. It becomes
important when referencing results between operations.
Inner HTTP Request
Each operation contains a full HTTP request:
POST /data/LedgerJournalHeaders HTTP/1.1
Content-Type: application/json;odata.metadata=minimal
Accept: application/json;odata.metadata=minimal
Company: usmf
Prefer: return=representation
Key headers:
- Company:
Specifies the legal entity.
- Prefer:
return=representation: Returns the created record in the response.
The JSON body follows after a blank line.
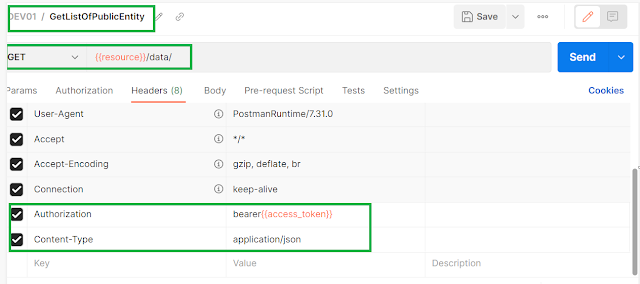
4. How to Send This in Postman
- Set
method to POST.
- URL:
- https://<your-environment>.cloudax.dynamics.com/data/$batch
- Add
headers:
- Authorization:
Bearer <token>
- Content-Type:
multipart/mixed; boundary=batch_7bf57939-a923-4e49-92d3-20fb4f2c8435
- Accept:
application/json
- Paste
the entire batch payload into the body (raw text).
Important:
- Do
not add extra spaces before boundary lines.
- Ensure
blank lines exist where required.
- Boundary
names must match exactly.
5. Common Pitfalls
- Boundary
mismatch: The most common cause of errors.
- Missing
blank lines: Required between headers and body.
- Incorrect
Company header: May cause data to be created in the wrong legal
entity.
- Changeset
errors: If one operation fails, all operations in the changeset fail.
6. Summary
Using OData batch in D365FO allows you to create multiple
records efficiently in a single request. Understanding boundaries, headers, and
formatting is essential for successful execution. The example provided can be
used as a template for creating multiple Ledger Journal Headers or any other
entity records.